Regular Maintenance: Cleaning the Bullet R1 Roaster
Back when I did most of my coffee roasting primarily on a Behmor 1600+, I regularly had to perform a cleaning routine that usually involved scrubbing some of the inside parts of the roaster with Simple Green and then running the roaster empty on a short cycle.1 Since I started roasting on the Bullet R1, I have only attempted a brief cleaning routine once, and after just a month of roasting, it’s time to do the clean again.
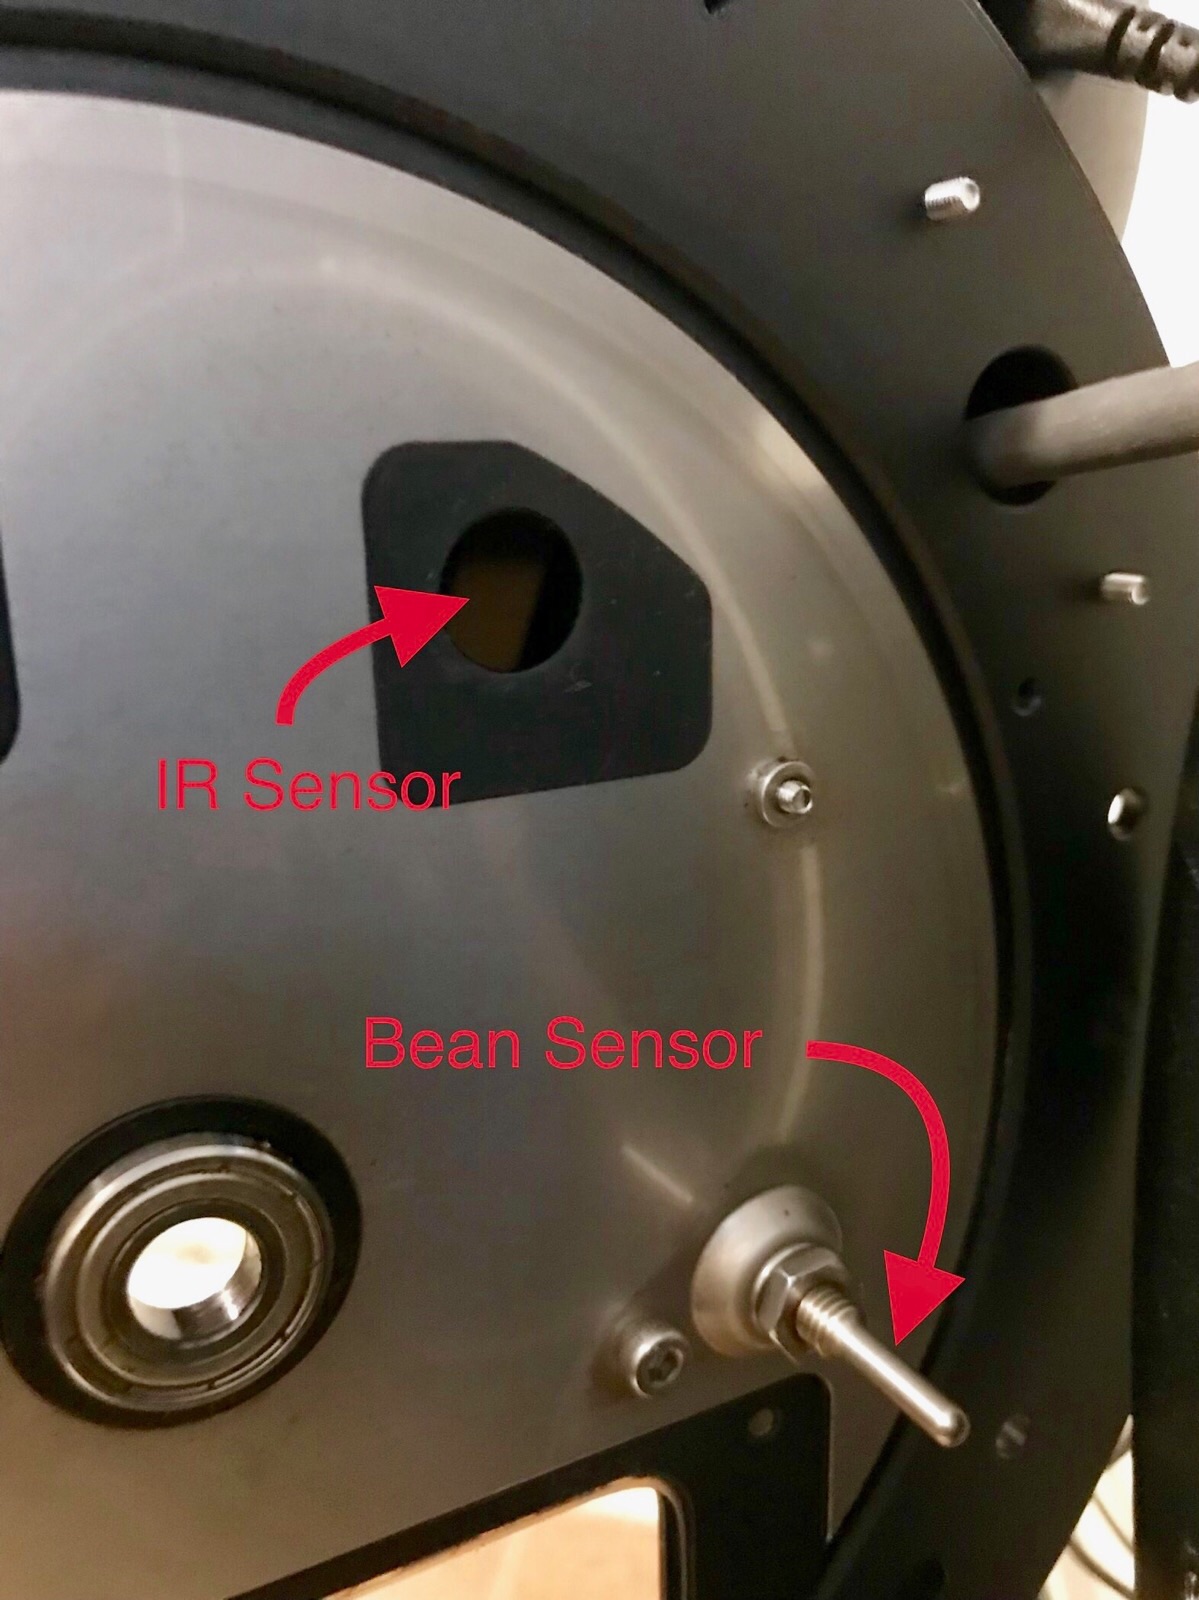
According to the software that integrates with my Bullet R1, I’ve roasted a tad more than 10kg of coffee in the last month, and that means it’s time for a clean. Aillio recommends cleaning the infrared (IR) sensor on the inside of the roaster face-plate after every 10kg of roasting, so I figured today would be as good a time as any. I grabbed my tools and an old rag, prepared a solution of Cafiza — a cleaner usually used for espresso machines2, and dug in.
Quick Disassembly
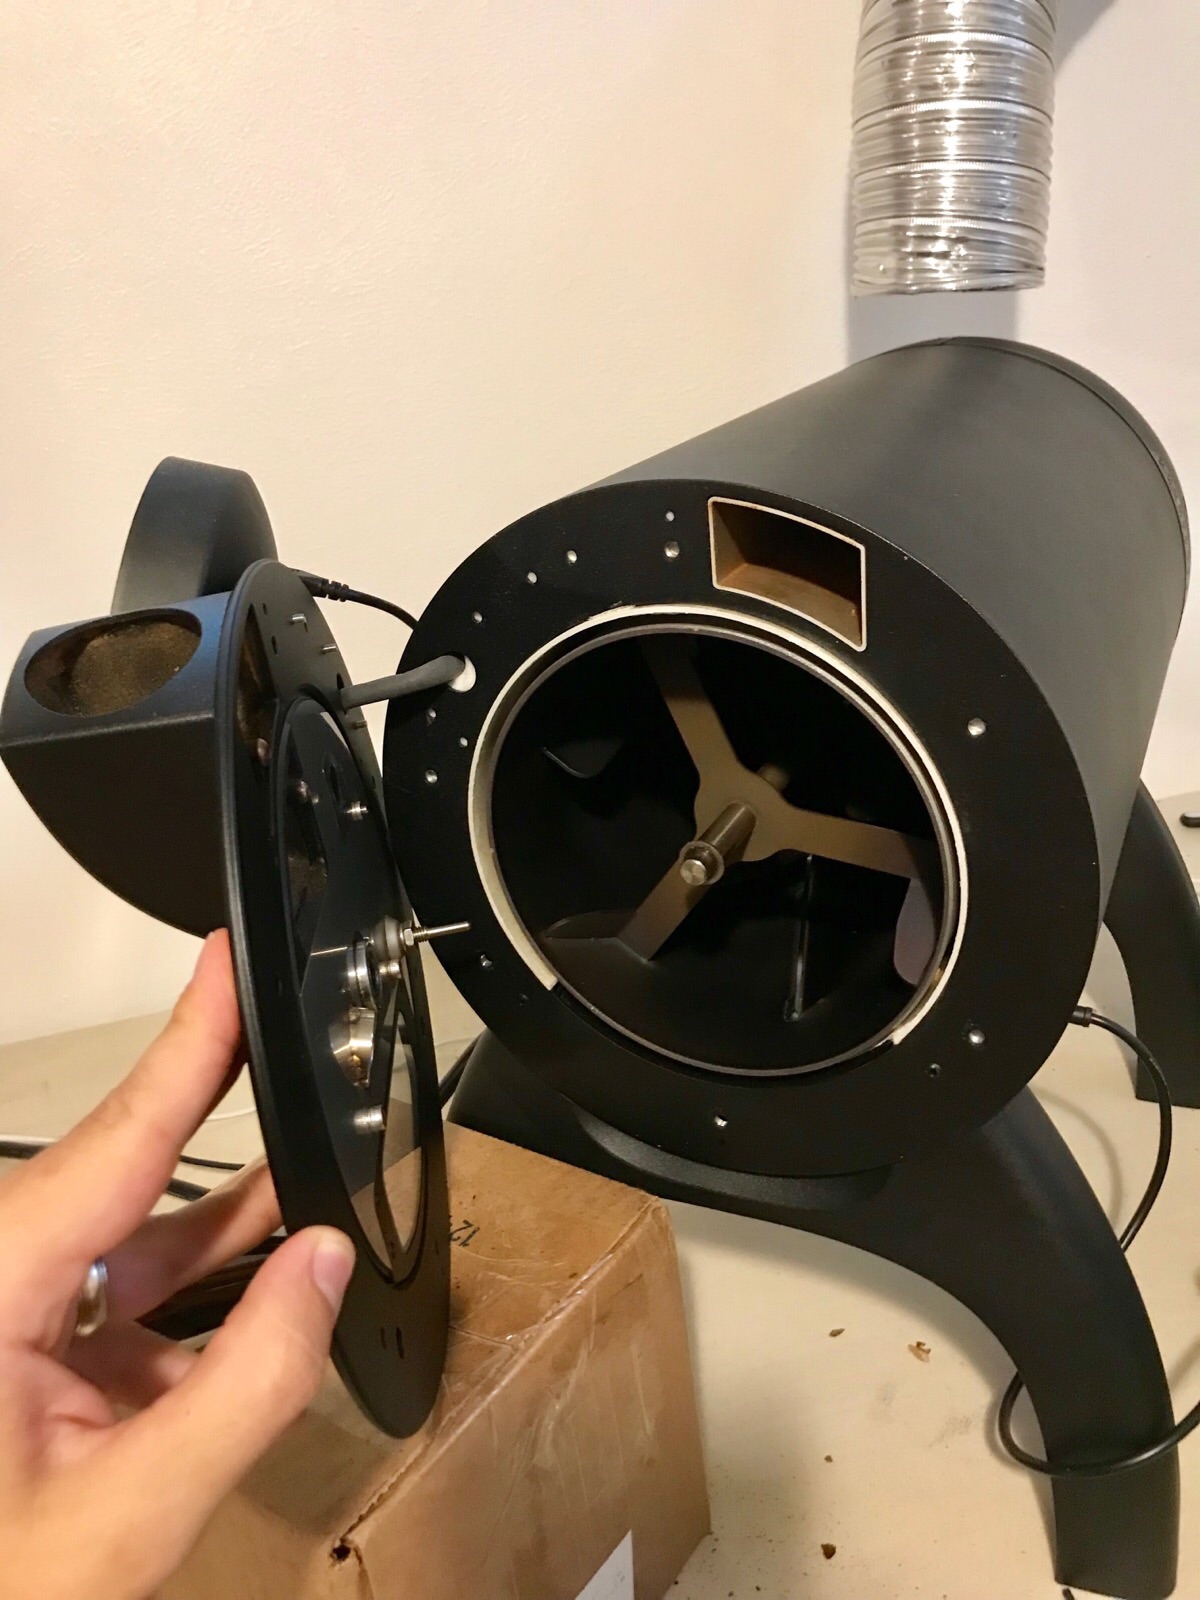
The roasting faceplate is held on with a number of screws which are easy to take off, but the faceplate is heavy and it’s attached to a bundle of wires for the electronics, so you can’t just let it hang off to the side. I have a cardboard box that is about the right height for resting the face plate while cleaning, and that seems to work fine. Below is a photo of the inside of the roaster with the faceplate pulled back:

After 10kg of coffee, the inside of the faceplate isn’t too bad. There was a bunch of chaff dust that had stuck to coffee oils and was building up on the metal itself, but I found that cleaning took 1-2 minutes at the most. I gave everything a good scrub, focused on the IR sensor for most of my scrubbing and then dried everything off. While I had the faceplate off, I vacuumed out any chaff that might have found its way underneath the drum and cleaned the glass window to provide a good view of the beans.

Cleaning the Chaff Filter
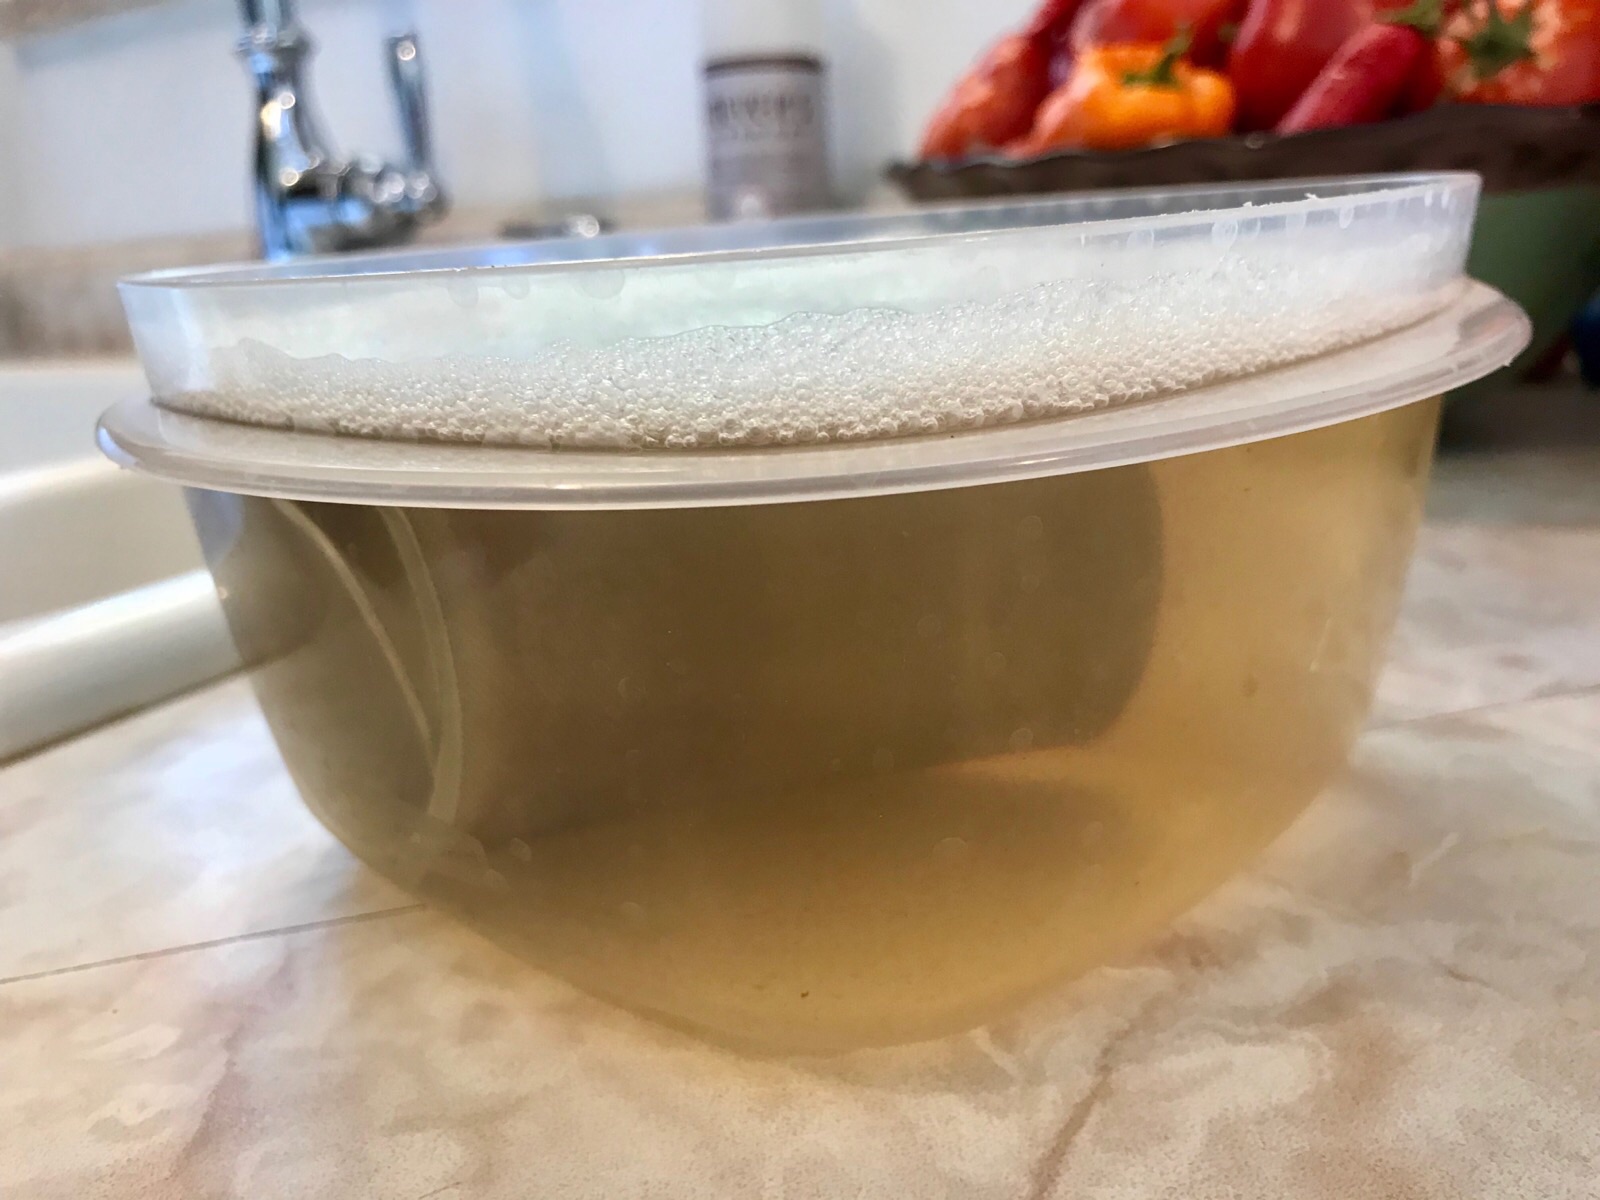
After reassembling the front of the roaster successfully, I cleaned out the chaff collector and soaked the chaff filter, which looks like a small mesh cup, in a Cafiza solution. It’s amazing how much gunk came out of that thing - I’m guessing I’ll need to clean it more frequently than the IR sensor. After everything was dry, I put it all back together and did a roast of a Mexican coffee I got last month from La Bodega. It’s all working great, and the coffee turned out really nice.

Of course, the tricky thing now is to remember when to do the next cleaning. Just so I could remember, I logged today’s cleaning in my Day One journal, and I’ll be able to go back and look for the date when I last did it so I can calculate how much coffee I’ve roasted. All told, this was a fairly painless exercise, so I’m pretty confident that this maintenance task will become boring and routine in the future.
-
I presume this empty cycle was to burn out any leftover chaff and stuff. The roaster did always seem cleaner when I did that. ↩︎
-
Cafiza is really quite good at eating away coffee oils, so I use it for almost everything. Warning: it does seem to permanently discolor aluminum, so don’t use it on your moka pot if you want to keep that thing shiny. ↩︎